Planted in the fall, a cover crop protects the soil from win and rain erosion over the winter. It grows densely and thickly to form a protective cover, also helping to keep animals and people out of your bed once there’s a heavy presence of plants there.
Cover crops also have a secondary function. Some are nitrogen fixers, and they pull nitrogen out of the air and make it a plant-usable form in the soil. They also add organic matter to the soil when they break.
Plants that are generally used for cover crops are:
- grains, like wheat, oats and rye, depending on where you live and what your soil is like
- legumes, like Austrian field pea, fava beans, vetch, crimson clover, depending on where you live and what your soil is like
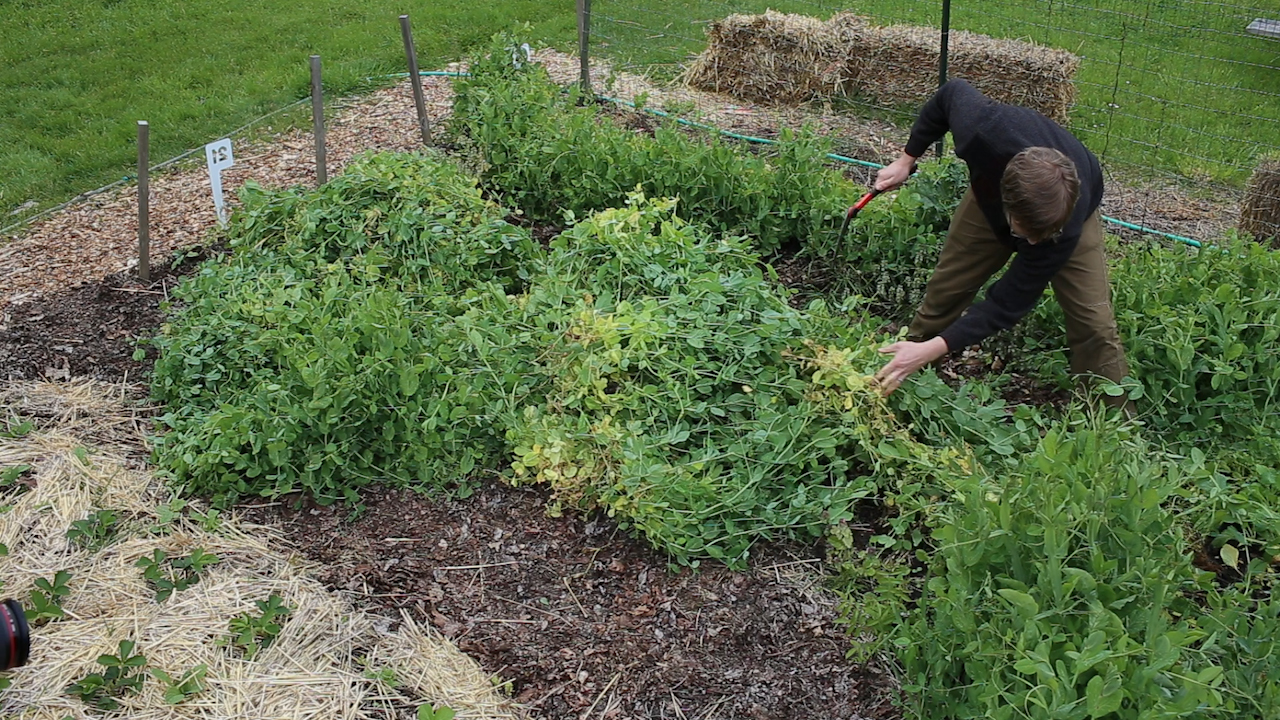
Step One. Sheer the cover crop
We cut off the cover crops at the root, and at this point, there are two options of where to go next. Some people will sheer the organic material and add it to a compost pile, but this adds an extra step later when you have to incorporate the finished compost back into the soil later. We are going to skip that step and incorporate the material directly into the soil at the end of this process.
Note: Always clean your tools, especially sharp tools. When using sharp tools, make sure to wear sturdy shoes and keep aware at all times so you don’t hurt yourself.
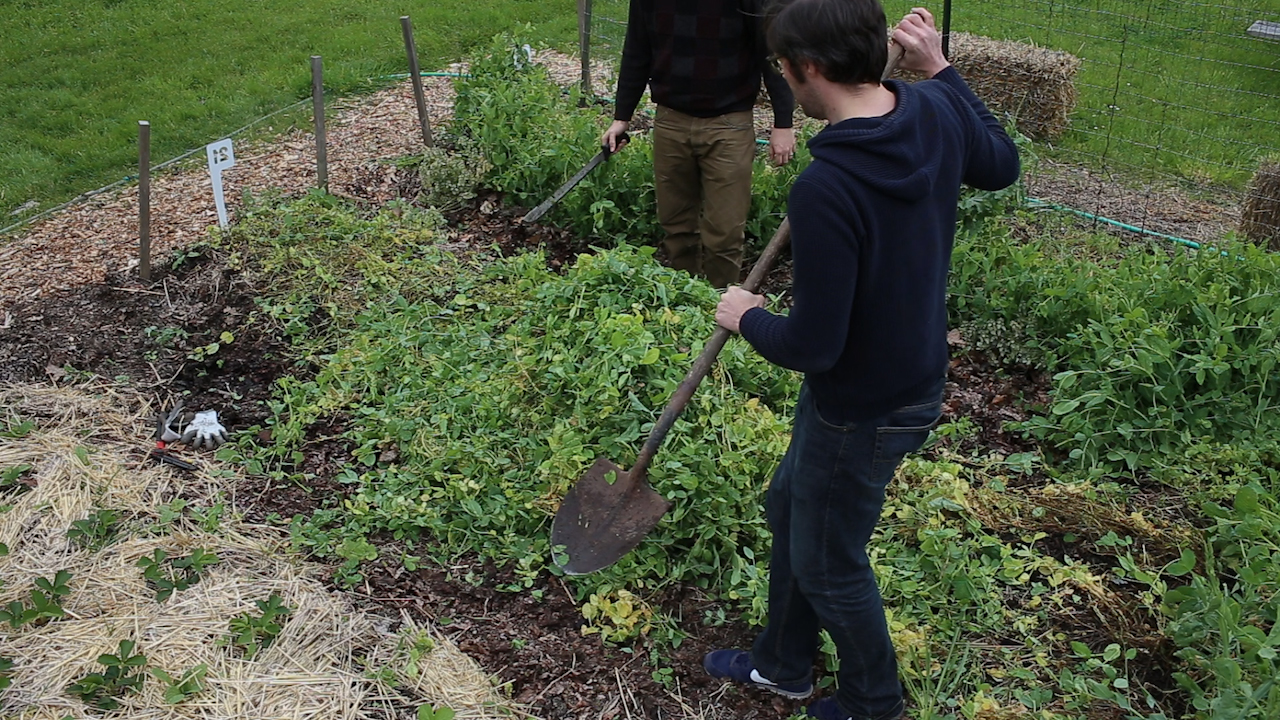
Step Two. Chop the cover crop
Using a machete and a shovel, we beat at the cover crop until it was small chunks. Small chunks break down easier in the soil. The beating will also bruise the material, letting microbes get inside, which will help speed up the process.
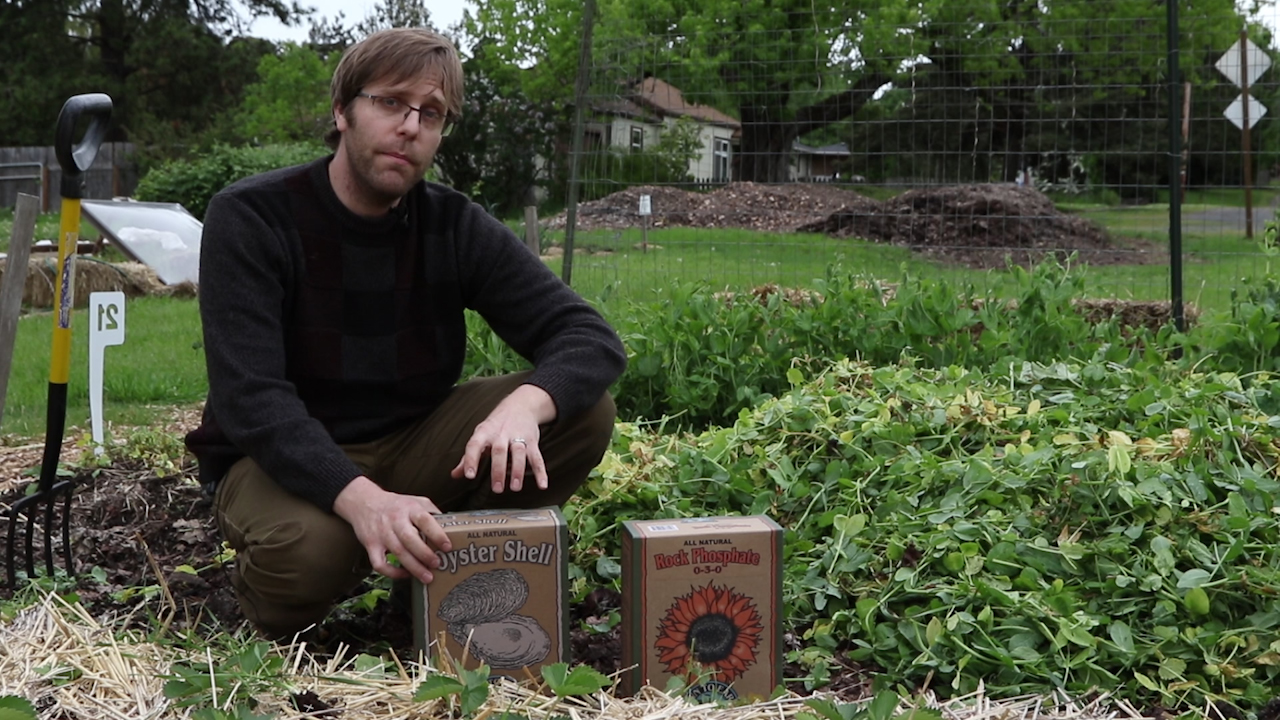
Intermission. A discussion of amendments
Rock phosphate is a great source of slow-release phosphorus and about 20% calcium. Oyster shell is also a source of calcium, which we used because we planted tomatoes and peppers in our test garden and wanted to help prevent Blossom End Rot.
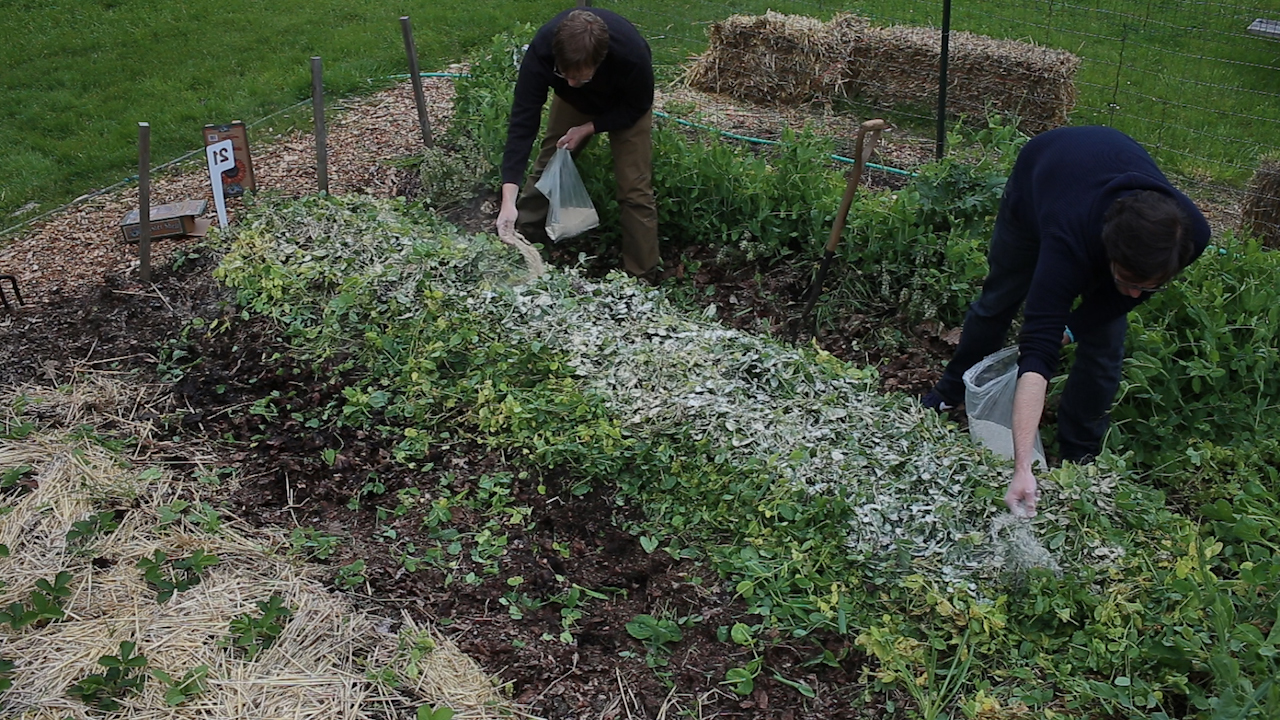
Step Three. Amend the soil
After the material is raked out, we apply our amendments as per the instructions.
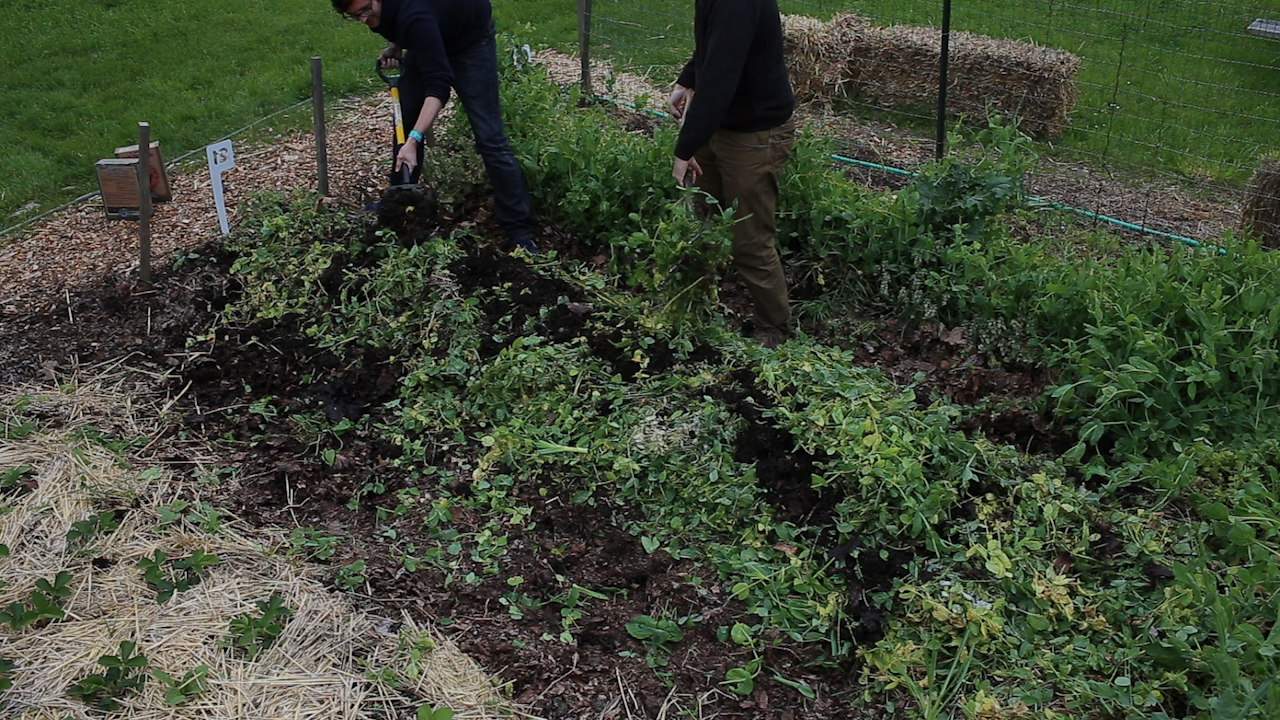
Step Four. Incorporate into the soil
When it is time to mix in your cover crop, your soil’s moisture level is important. You want it dry enough that it has a crumbly texture, but you don’t want it to be a full summer dry. You want the soil to have give in. You do not want it too wet, or it will allow compaction of the soil, which is why we grew a cover crop in the first place.
We incorporated the material using digging forks, mixed it into the top 4” – 6” of topsoil.
The rock phosphate and oyster shell will become more available as they are assimilated by the biology in the soil, and that can take a number of weeks. The organic material itself will take 3 – 4 weeks to break down, depending on the temperature of the ground and how succulent the plant material is.
Once we are ready to plant, we will plant directly into the bed, possibly adding more fertilizer. At that time, the phosphorus and calcium should be available to the plants.
