With flowers of all shapes and sizes available and thousands of varieties, Spring blooming bulbs offer a fully customizable experience for any gardener. You can combine different bloom times, heights, colors, patterns, and layouts to create the perfect Spring accent for your home. Here in Eugene, OR. we often see these riotous displays of color popping up all over town in the Spring.
They not only look good, but they also provide valuable nectar and pollen sources for early pollinators that emerge in the Spring! The clusters of flowers provide an easy food source for hungry bees, and some varieties can even naturalize if the conditions are right. You can use them for cut-flower bouquets!
Did you know that many of these Spring heralds are actually best planted in the Fall? Allium, Anemones, Buttercups, Crocuses, Daffodils, Freesias, Frillarias, Grape Hyacinths, Hyacinths, Iris, Ranunculus, Scillas, Snowdrops, Spanish Bluebells, Spider lilies, Starflowers, and Tulips are the many Spring bulbs that thrive when planted the Fall prior. Read on to learn more about creating your own Spring display this Fall!
Getting the Timing Right
Fall is the best time to plant Spring flowering bulbs because they need at least 14-16 weeks of cold temperatures in order to bloom properly.1 However, depending on the zone you live in, the process of planting Fall bulbs may be a little different.
Zones 1-7: If you live in an area with cold winters, you should plant your bulbs as soon as the ground cools. You want the soil temperature to be between 40-50° F, and to plant the bulbs at least 6-8 weeks before the ground freezes. This will ensure that the bulbs have time to properly establish their root systems. Don’t worry if you are running a little late though! You can still plant your bulbs as long as the ground is workable.2 Nature wants these flowers to bloom as much as you do, and there’s still a good chance they will bloom in less than optimal conditions.
Zones 8-11: If you live in an area with warmer winters, you are going to have to go to a bit more trouble to get your bulbs to blooms. The bulbs won’t experience cold enough temperatures to induce blooming, if you plant them directly into the ground. Don’t worry though! You can pre-chill your bulbs in the refrigerator to trick them into blooming. Simply leave your bulbs in their bag, and store them in your refrigerator. Make sure not to place them near fruit, since the ethylene gas given off during the ripening process can kill the flower inside the bulbs.2 Most bulbs will need somewhere between 11 and 16 weeks of chilling, but be sure to check the specifications for the flowers you chose!
Choosing the Right Flowers for You
Although the ease of design is one of the best parts about planting Spring flowering bulbs, there are many factors you can select for. Bloom time, critter resistance, height, and pollinator friendliness are all things to consider when selecting your flowers.
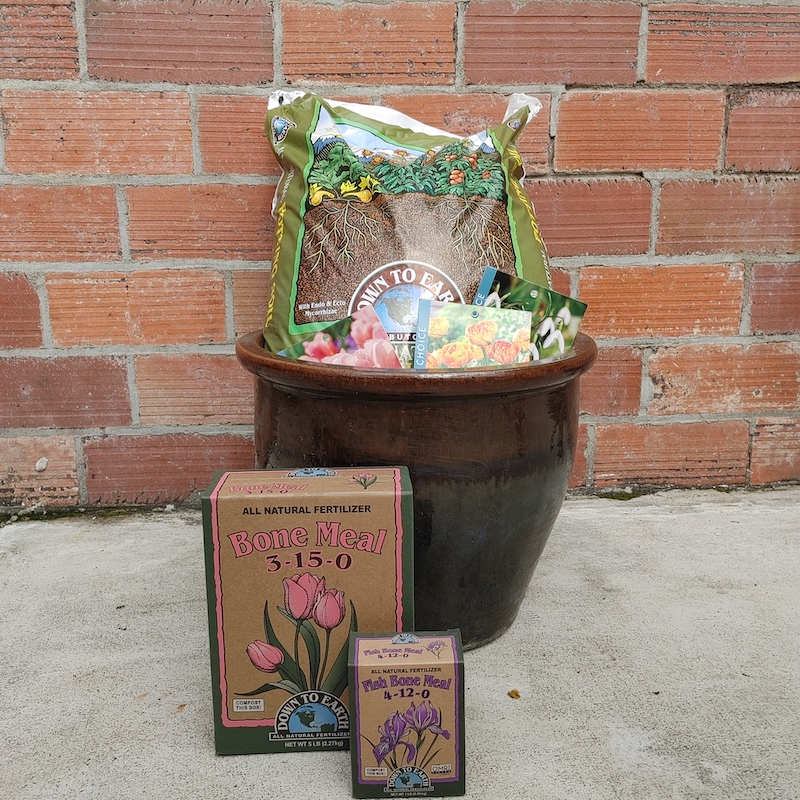
When you purchase bulbs, their bloom time can always be found with their other care information. Bulbs that are meant to be planted in the Fall will be labeled as early, mid, and late-Spring bloomers. Selecting a variety of different bloom times will give you season-long color. We selected one of each type for the matching pots we planted, Galanthus Snowdrops, Live Coral Tulips, and Sunlover Tulips. This will give us a nice succession of blooms throughout the spring.
Early-Spring bloomers generally have smaller bulb sizes, making them an easy snack target for squirrels and other critters. You’ll want to lay down a layer of mulch to discourage them from snacking on your hard work. Early bloomers can include irises, daffodils, snowdrops, and crocuses.
Mid-Spring bloomers include many of the classics like tulips, lilies, and anemones. You can find a lot of options for natives or naturalized bulbs, perennials, double-bloomers, and much more.3
There are also a lot of classics available for Late-Spring, like tulips and daffodils, but you can also find allium and bluebells.
You should consider the critter resistance of your bulbs, depending on the wildlife you can expect to wander through your yard. Here in Eugene, I am not particularly concerned with a family of deer coming through my garden. However, the squirrels can be menaces, so I do have to worry about them snacking on my Early-Spring bloomers.

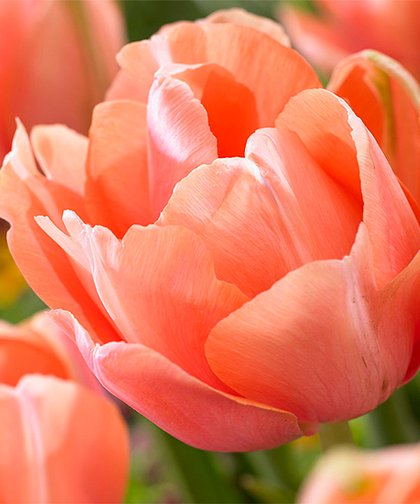
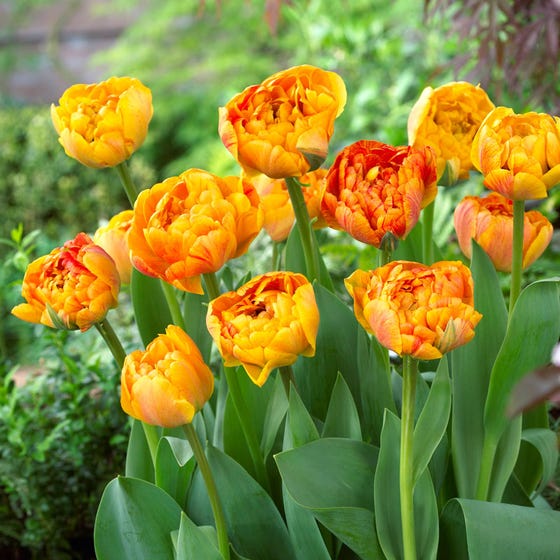
The height of your flowers will influence your design plans, both aesthetically and for sun exposure. The Live Coral Tulips we selected will be nearly 2′ tall and the Sun Lovers will reach 18″, while the Galanthus Snowdrops will lay close to the ground at just 8″. Make sure that your shorter plants will still be able to get enough sun when your taller ones bloom.
Another factor we would encourage you to consider when choosing your bulbs is their pollinator friendliness, lifespan, and origin. Although many flowering bulbs are not native to North America, some can still provide valuable pollen sources to pollinators throughout the Spring. Since we plant them in concentrated patches, they can also reduce the amount of wandering the pollinators have to do.1 You can find pollinator-friendly bulbs for each part of the Spring season at this resource here https://extension.psu.edu/programs/master-gardener/counties/northampton/news/2018/plant-bulbs-to-support-early-pollinators.
The Galanthus Snowdrops we chose will provide a good pollen source for native bees and honeybees in early Spring. However, the Live Coral Tulips won’t provide very much pollen, and neither will most double-blooming species like the Sunlovers we chose.1
Choosing native bulbs will be more beneficial to pollinators, and increase the chance that they naturalize in your garden. Naturalized bulbs and perennials help reduce waste in the garden because they come back multiple years rather than needing to be replaced every year. The root systems of perennials are also better for the soil, as they are more expansive and bring organic matter, water, and biological activity further down into the subsoil. This helps stabilize the soil and build soil health.4
Site Selection and Soil Preparation
You can plant your bulbs anywhere in your garden, including in raised beds or containers, as long as the soil drains well. Make sure not to plant in low areas where water could collect and cause your bulbs to rot. Also keep in mind the sun requirements for your bulbs, which can be found with the rest of the care instructions. Think ahead to the Spring and consider which areas of your space will be shaded by developing tree leaves or other plants in your garden.
Also, make sure that your soil will remain loose and workable for the long growing season. You can add organic material like compost or peat moss to improve the drainage and airflow of your soil if necessary. Make sure to remove any rocks, weeds, or other debris from the area.
Arrangement and Planting
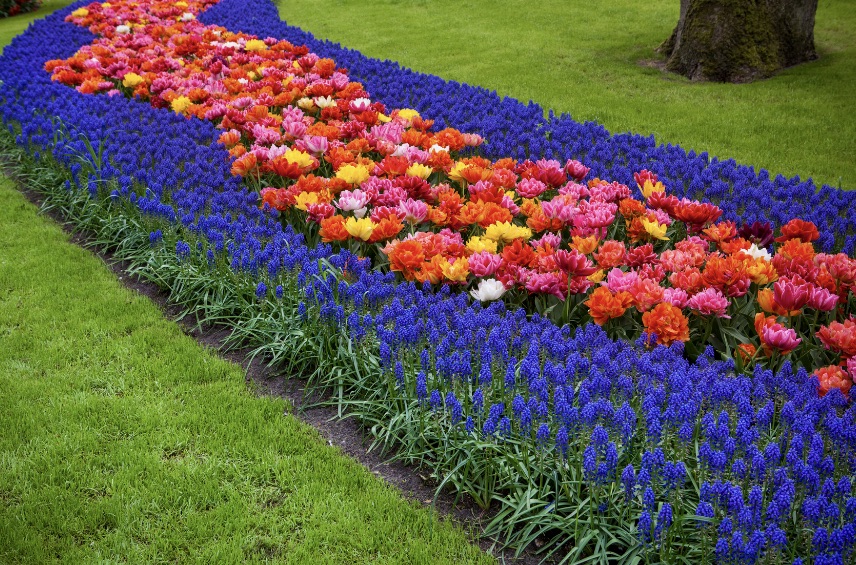
You can really go crazy with the way you arrange your bulbs! Generally, you should plant your bulbs in clusters for the most impact. Planting them in clusters also makes them an easy snack for pollinators (or squirrels if you aren’t careful). If your bulbs are going to bloom at the same time, plant the shorter ones in front so they are visible. If the shorter ones will bloom first, plant the taller ones in front of them to hide the dying foliage of the shorter ones. You can also create a stacked effect by planting smaller bulbs directly above larger bulbs, or create dazzling displays by carefully planting in patterns. Of course, we already mentioned choosing a variety of bloom times to ensure season-long color.2
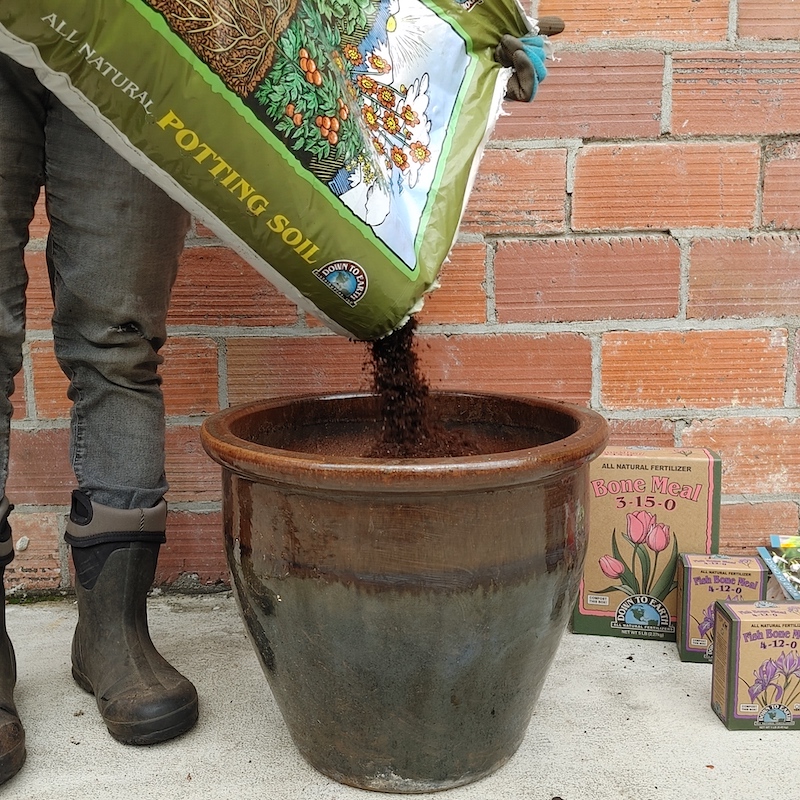
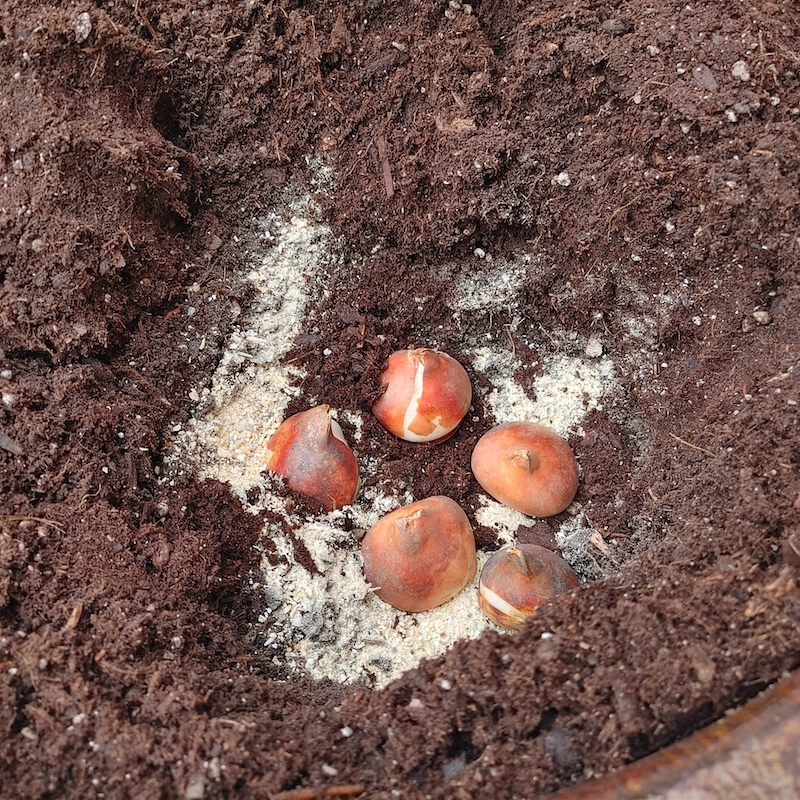
Whatever you decide, make sure you have a workable depth of at least 8″ where you are planting your bulbs. Dig a hole to the appropriate depth and then choose a slow-release fertilizer to sprinkle into the hole. If you have to amend your planting area anyways, you can also work the fertilizer into the soil at the same time. For this initial fertilization, choose a high-phosphorus organic slow-release fertilizer, to encourage the establishment of a healthy root system. The bulb will also store any excess energy it gathers now, for active growth in the Spring. We used our Fish Bone Meal 4-12-0 and Bone Meal 3-15-0 for our bulbs, but you could also use our Rose and Flower Mix 4-8-4 or our Vegan Mix 3-2-2.
Place the bulbs in the hole pointy side up and root side down. It is pretty easy to tell which way is up on most bulbs, but if you are having trouble just plant them on their sides. They will likely find their way up on their own in the Spring! Fritillarias even prefer this since it helps keep their flat bulbs from getting root rot.
Once you have placed the bulbs fill the hole back in with soil and lightly pat it down. If you are worried about squirrels or other critters stealing your bulbs, make sure to put a layer of mulch or some kind of barrier on top of the bulbs to discourage them.
Give your bulbs a good soak and you are all done! You don’t need to worry about your bulbs until next Spring unless you are experiencing drought or you planted in a container. If you planted in a container, you will need to check in often to make sure that the soil stays moist.
Fertilizing
Aside from this initial fertilization, you’ll want to fertilize again with a High-Phosphorus and Nitrogen slow-release fertilizer when active growth begins in the Spring. For perennials or bulbs you intend to naturalize, you’ll want to fertilize again towards the end of the growing season so that they can store plenty of energy for the next year. The bulbs will also store energy from the sun by pulling in nutrients from their foliage.
That’s about everything you need to know to create your own Spring flower beds. We will check in with you again in the Spring to talk about watering requirements, pests, fertilizing, naturalizing bulbs, and pruning foliage. Good luck!
References:
- Ryan, Barbara. “Plant Bulbs to Support Early Pollinators (Northampton County Master Gardener Program).” Northampton County Master Gardener Program (Penn State Extension). The Pennsylvania State University, September 6, 2018. https://extension.psu.edu/programs/master-gardener/counties/northampton/news/2018/plant-bulbs-to-support-early-pollinators.
- “How to Plant Fall Flower Bulbs.” American Meadows. Accessed November 10, 2021. https://www.americanmeadows.com/how-to-plant-flower-bulbs.
- Grant, Bonnie. “Early, Mid and Late Blooming Bulbs for an All-Spring Flowering Garden.” Gardening Know How, August 9, 2018. https://blog.gardeningknowhow.com/trends/early-mid-and-late-blooming-bulbs-for-an-all-spring-flowering-garden/.
- Green, Chelsea. “Perennial Power: Why You Need Them in Your Garden.” Chelsea Green Publishing. Chelsea Green Publishing, March 25, 2021. https://www.chelseagreen.com/2021/resilient-farm-homestead-perennial-plants-resiliency/.


